Manufacturers of power tools often switch connector types between batteries and their chargers. What do you do if you find yourself with a set that has a working charger but a faulty battery, and another set that has an incompatible working battery but a faulty charger?
In my experience, repurposing components can be a practical and efficient solution. By taking the connector parts from the faulty chargers and seamlessly mounting them onto the working one, I was able to create a functional charging system that kept my tools running smoothly
My power drills
Working on DIY projects around the house, I found myself in a bit of a bind with my power drills. My trusty Powerplus drill’s battery was running low, but its charger had given up on me. On the other hand, my old Topcraft drill had a perfectly functioning charger but battery that would not charge anymore.
Determined to make the most out of what I had, I decided to merge these two mismatched pieces into a working setup.

Powerplus Drill/Screwdriver 20V Li-Ion
This is my new drill, lighter and more efficient, but it came with a defective charger. The batteries still worked great, so I was keen to keep using it.
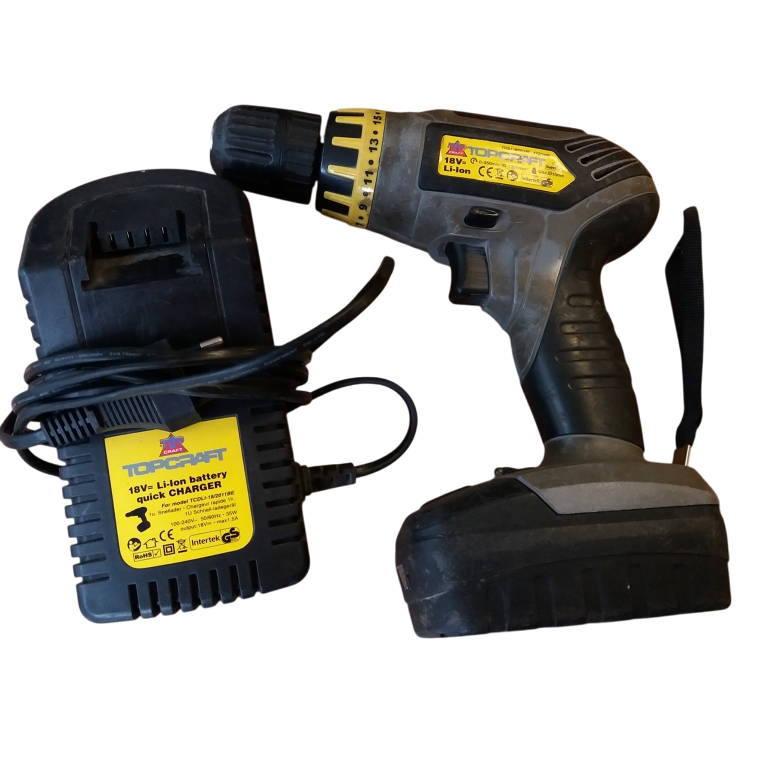
Topcraft Drill/Screwdriver 18V Li-Ion
My old drill had a defective battery and a working 18V charger. While the drill itself was still operational, finding replacement batteries was impossible. That’s when I got the idea to repurpose the charger for my new drill.
Tackling the Problem
The connector part of the faulty Powerplus charger consists of a plastic housing with three parallel copper plates: DC+ (unlabeled), ground, and minus. The DC+ plate supplies positive direct current for charging the battery. Ground serves as the common return path, and the minus plate is the negative terminal, completing the circuit. Additionally, there is a plus sign label indicating where the corresponding connection on the drill is which is not connected on the charger.
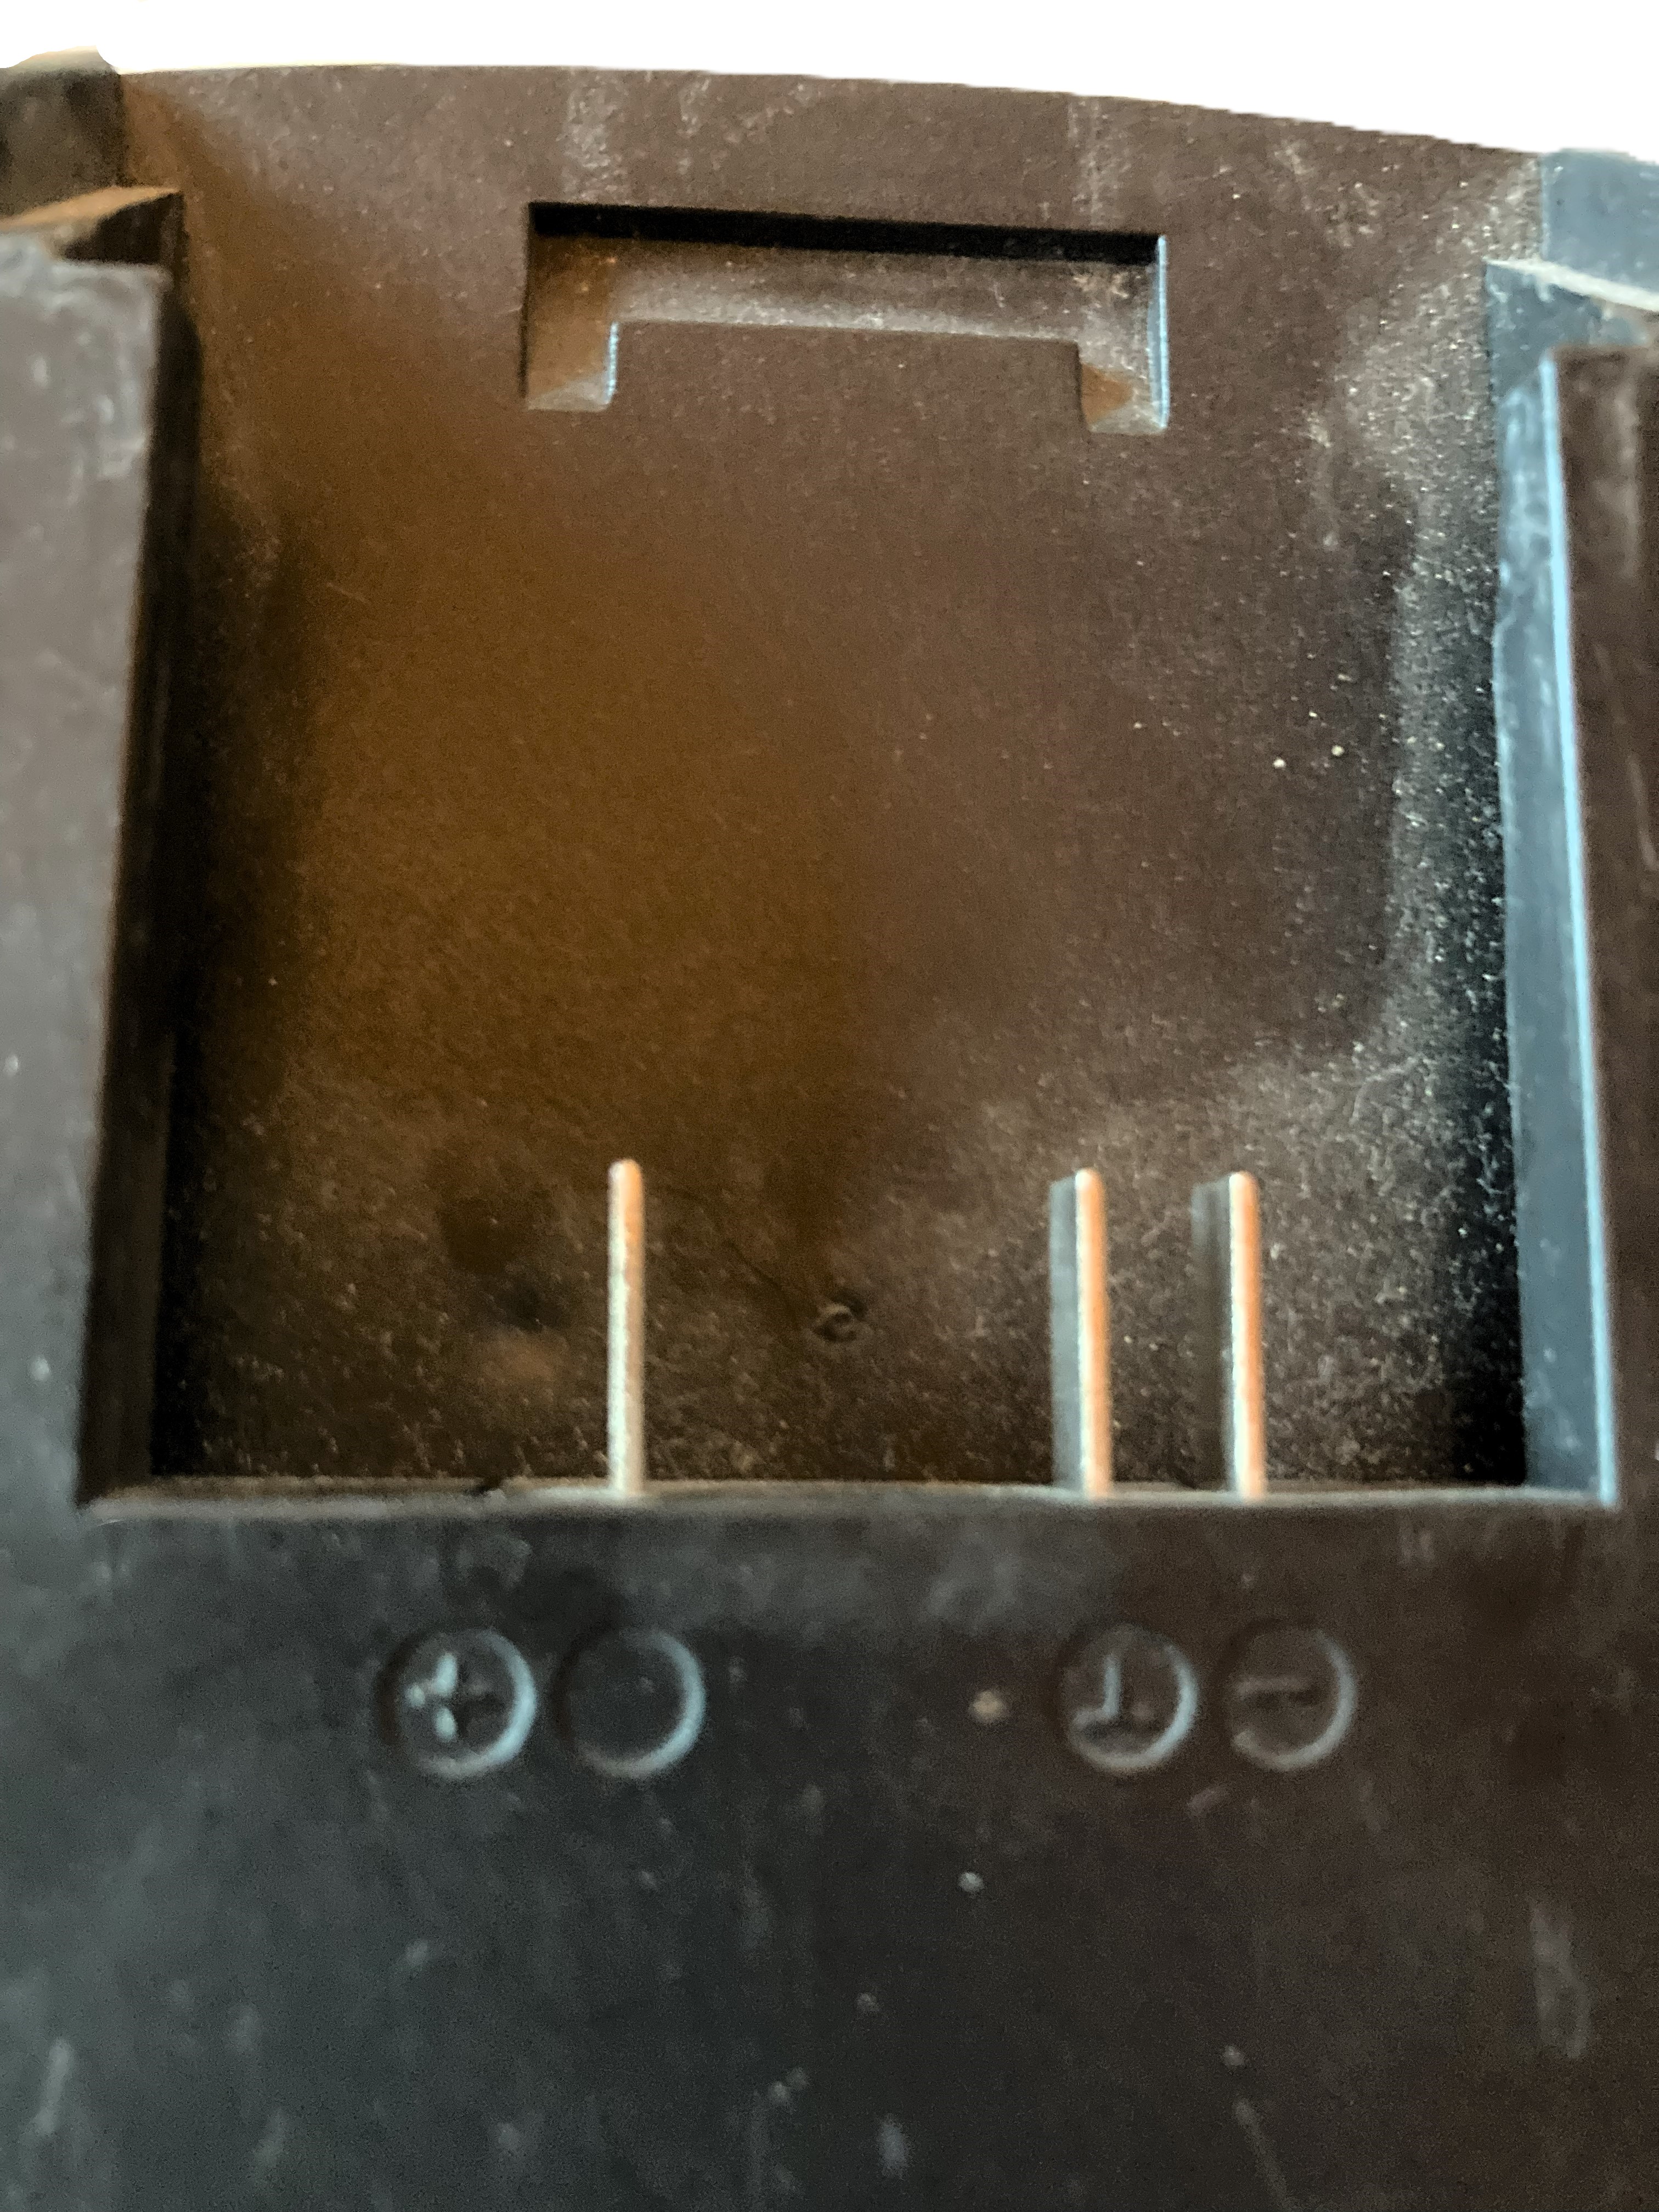
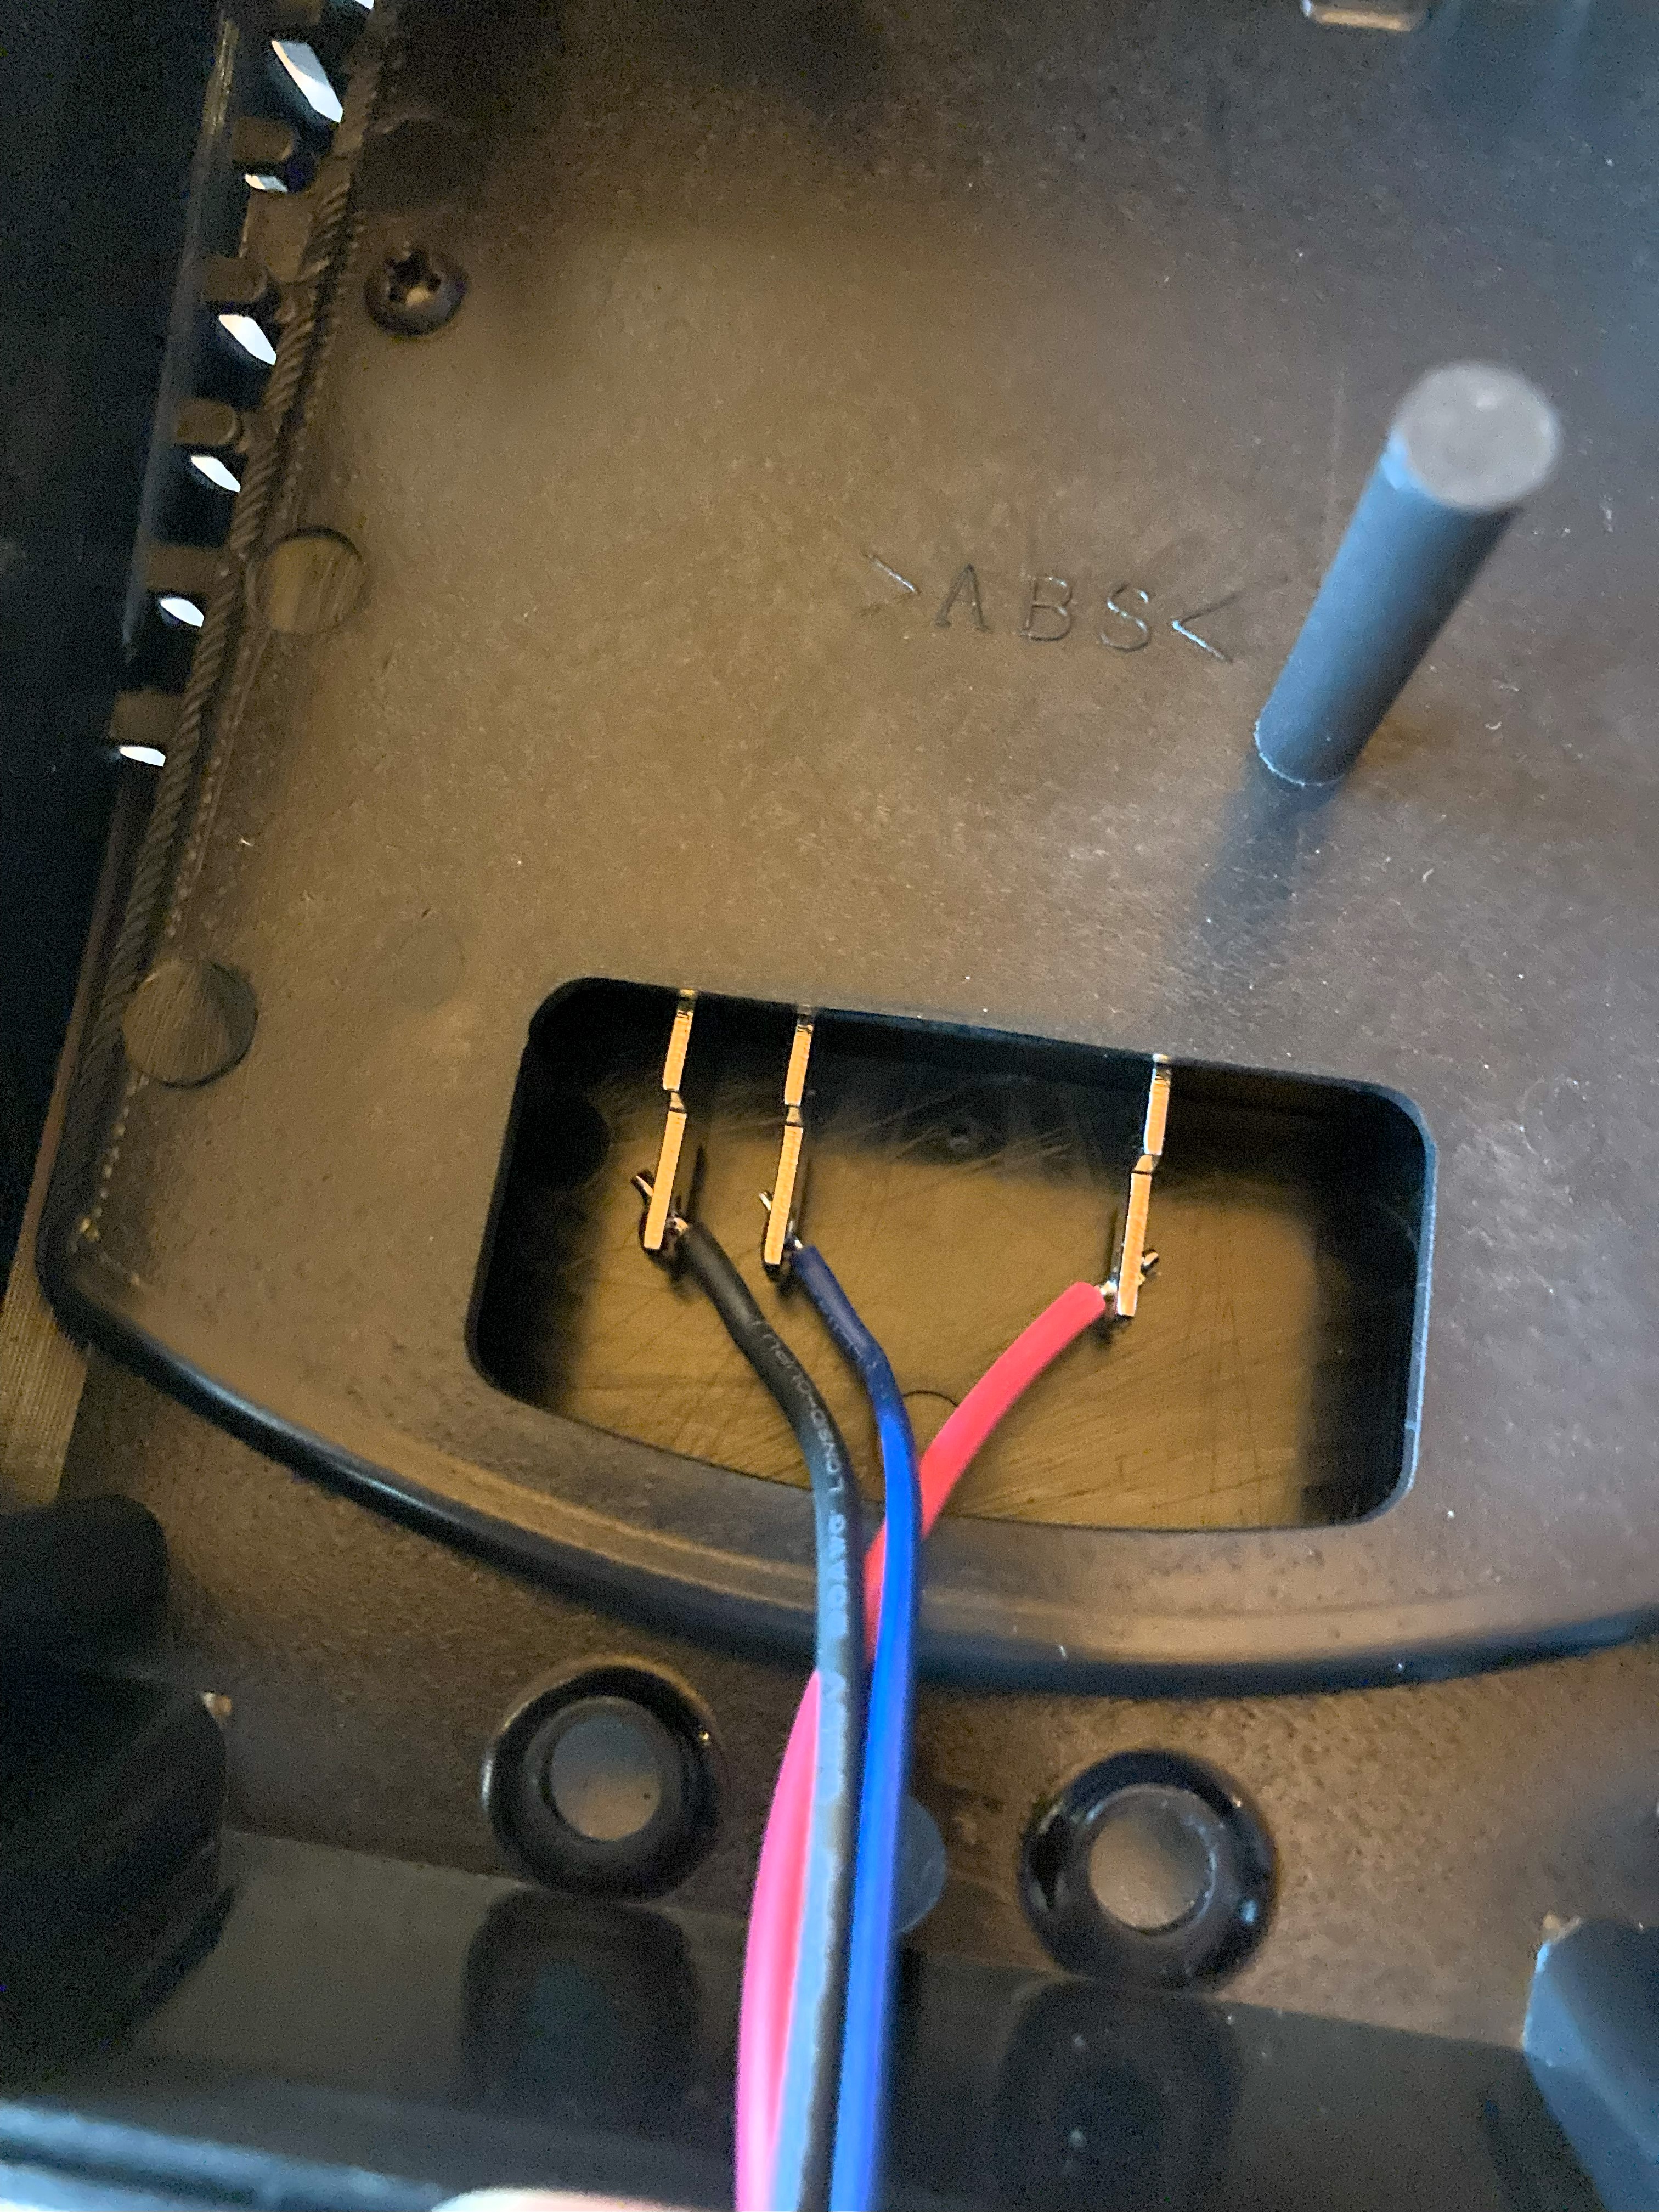
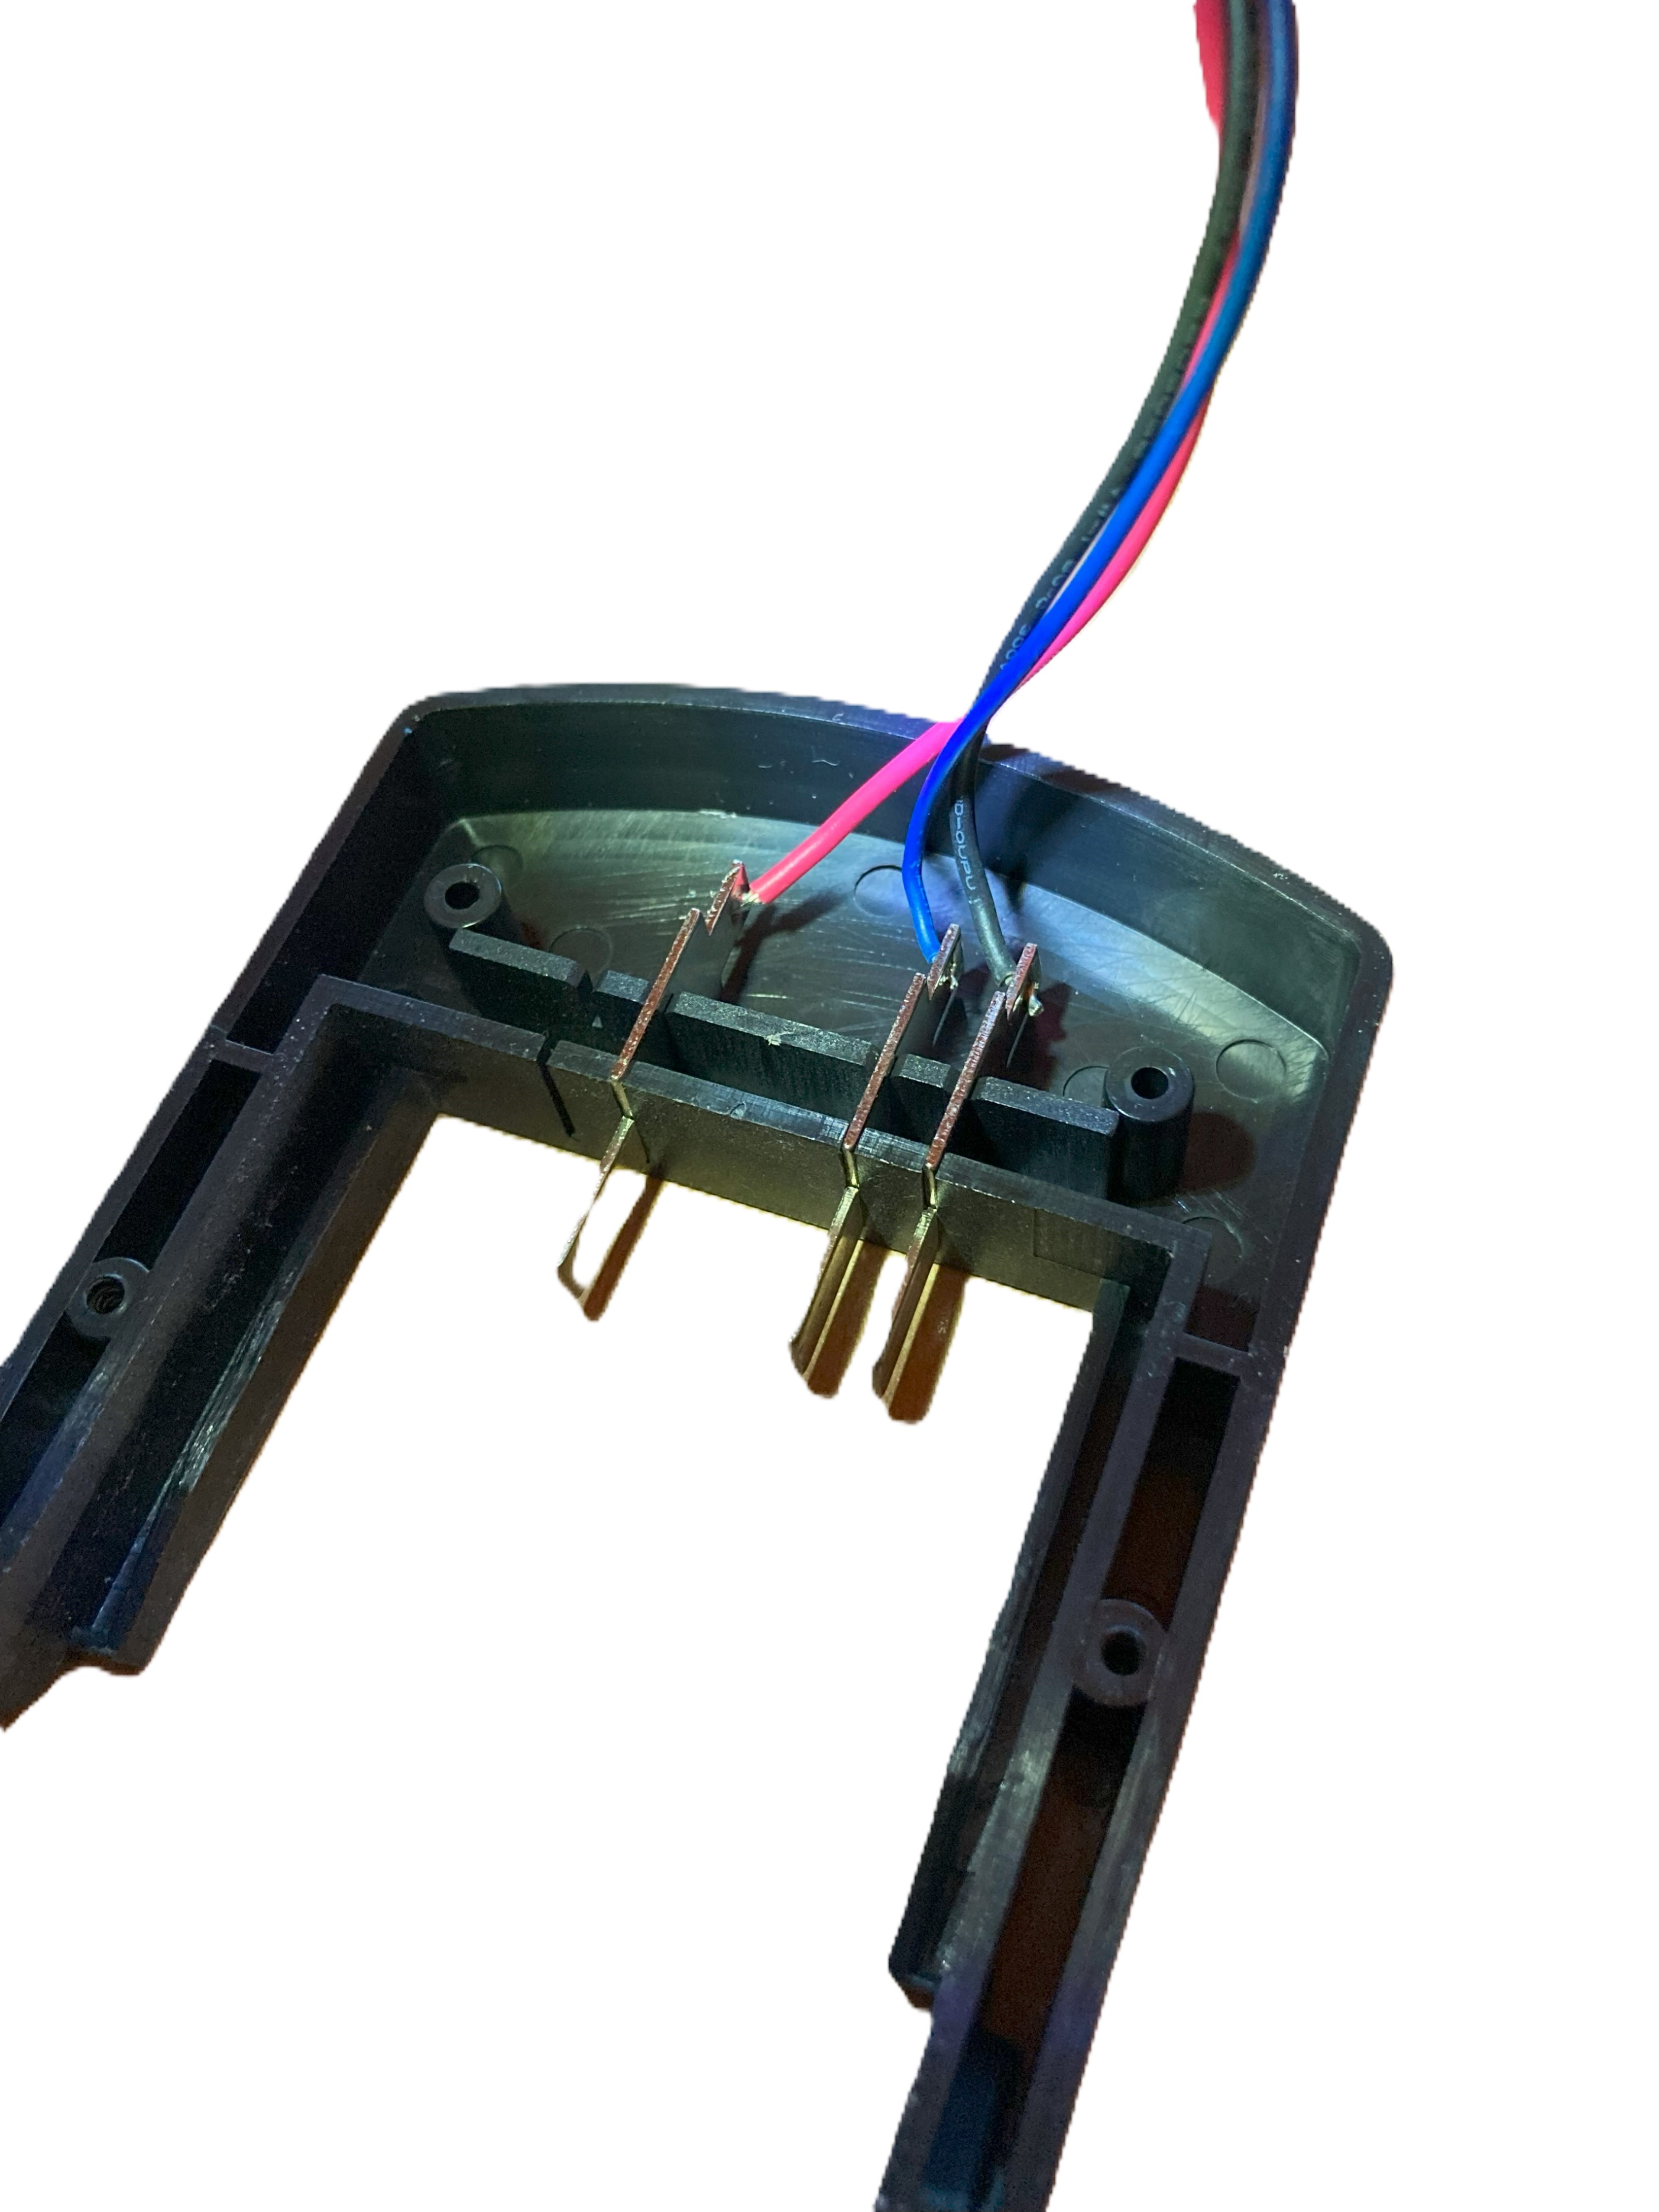
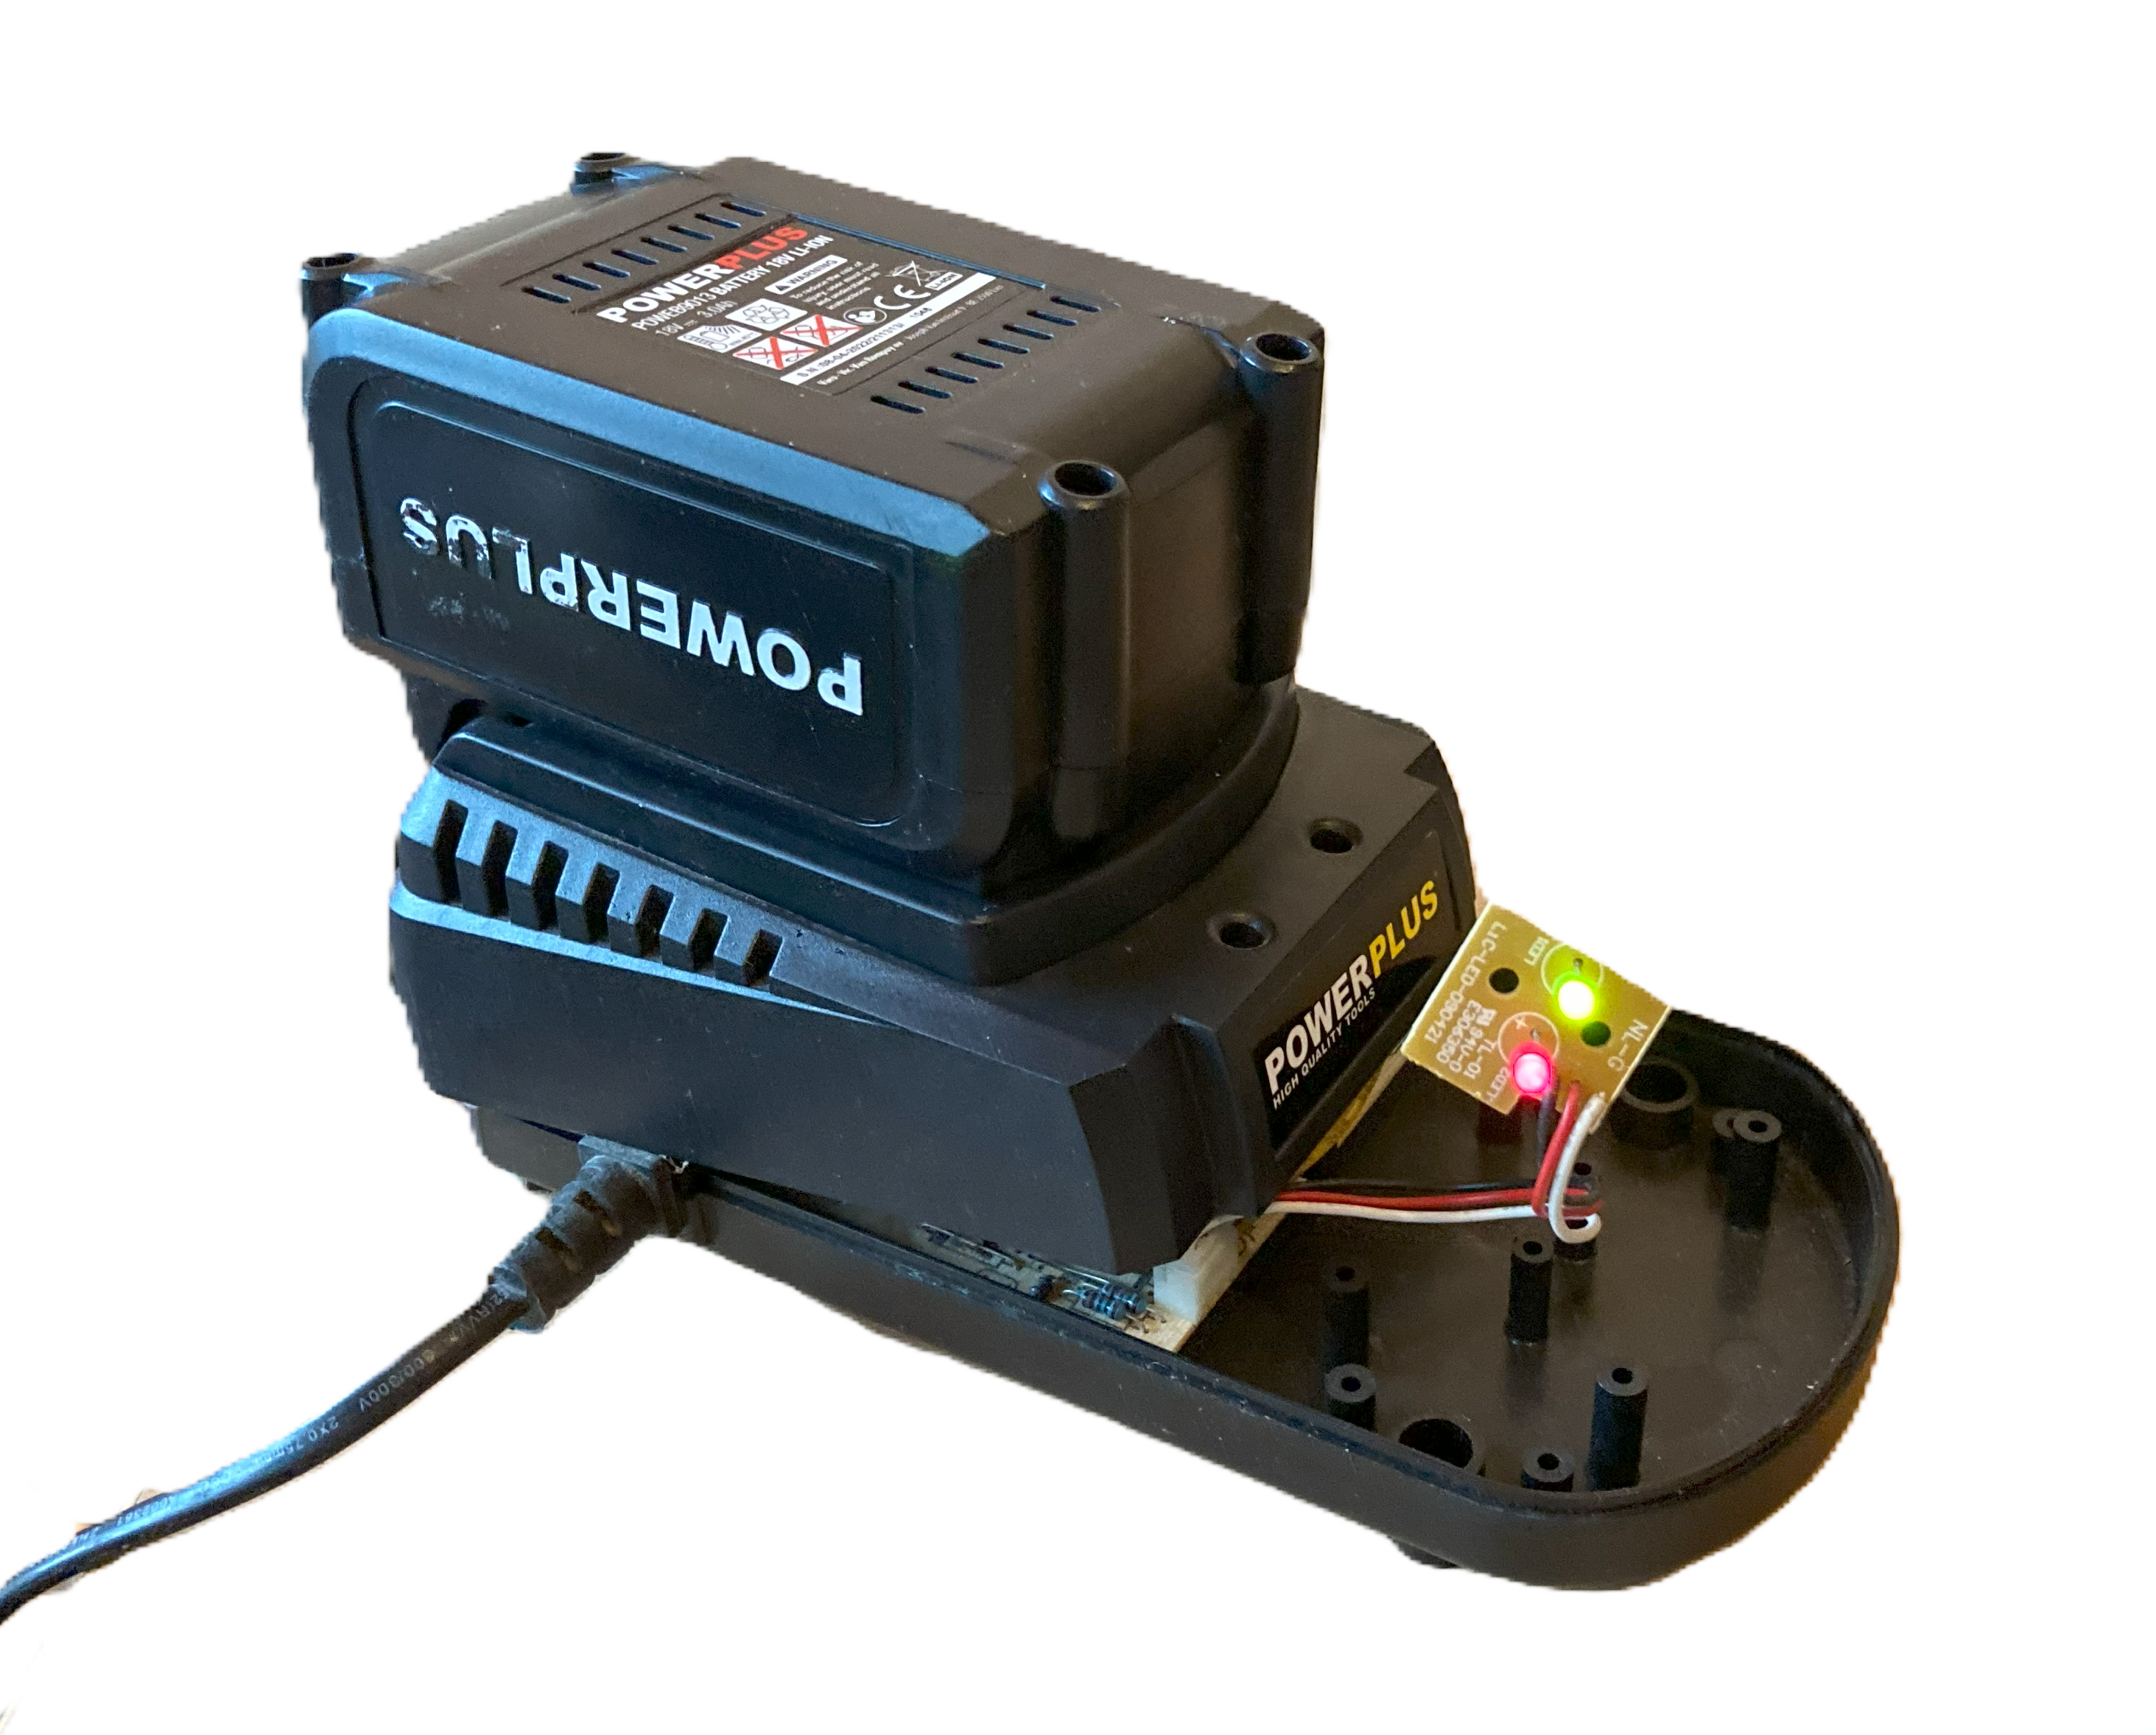
To test the setup, I opened up the old Topcraft charger, disconnected the wires from the connector of the newer but broken Powerplus charger, and loosely connected them to a small board with the incompatible connectors that was part of the working charger.

After that, I attached a battery to see if it worked, crossed my fingers and yes, the “charging” light flicked on. After about fifteen minutes of charging, I tested the battery by successfully powering my drill with it.
The Finishing Touches
To ensure everything was safe and secure, I removed the connector part from the broken charger, drilled some holes in the body of the working charger, and securely fastened the connector part to it. To ensure everything was safe and secure, I first used my soldering iron to remove the old connector board, allowing me to connect the wires directly. Then, I soldered the wires carefully and finished up with electrical tape for a neat fit. And here is the final result:
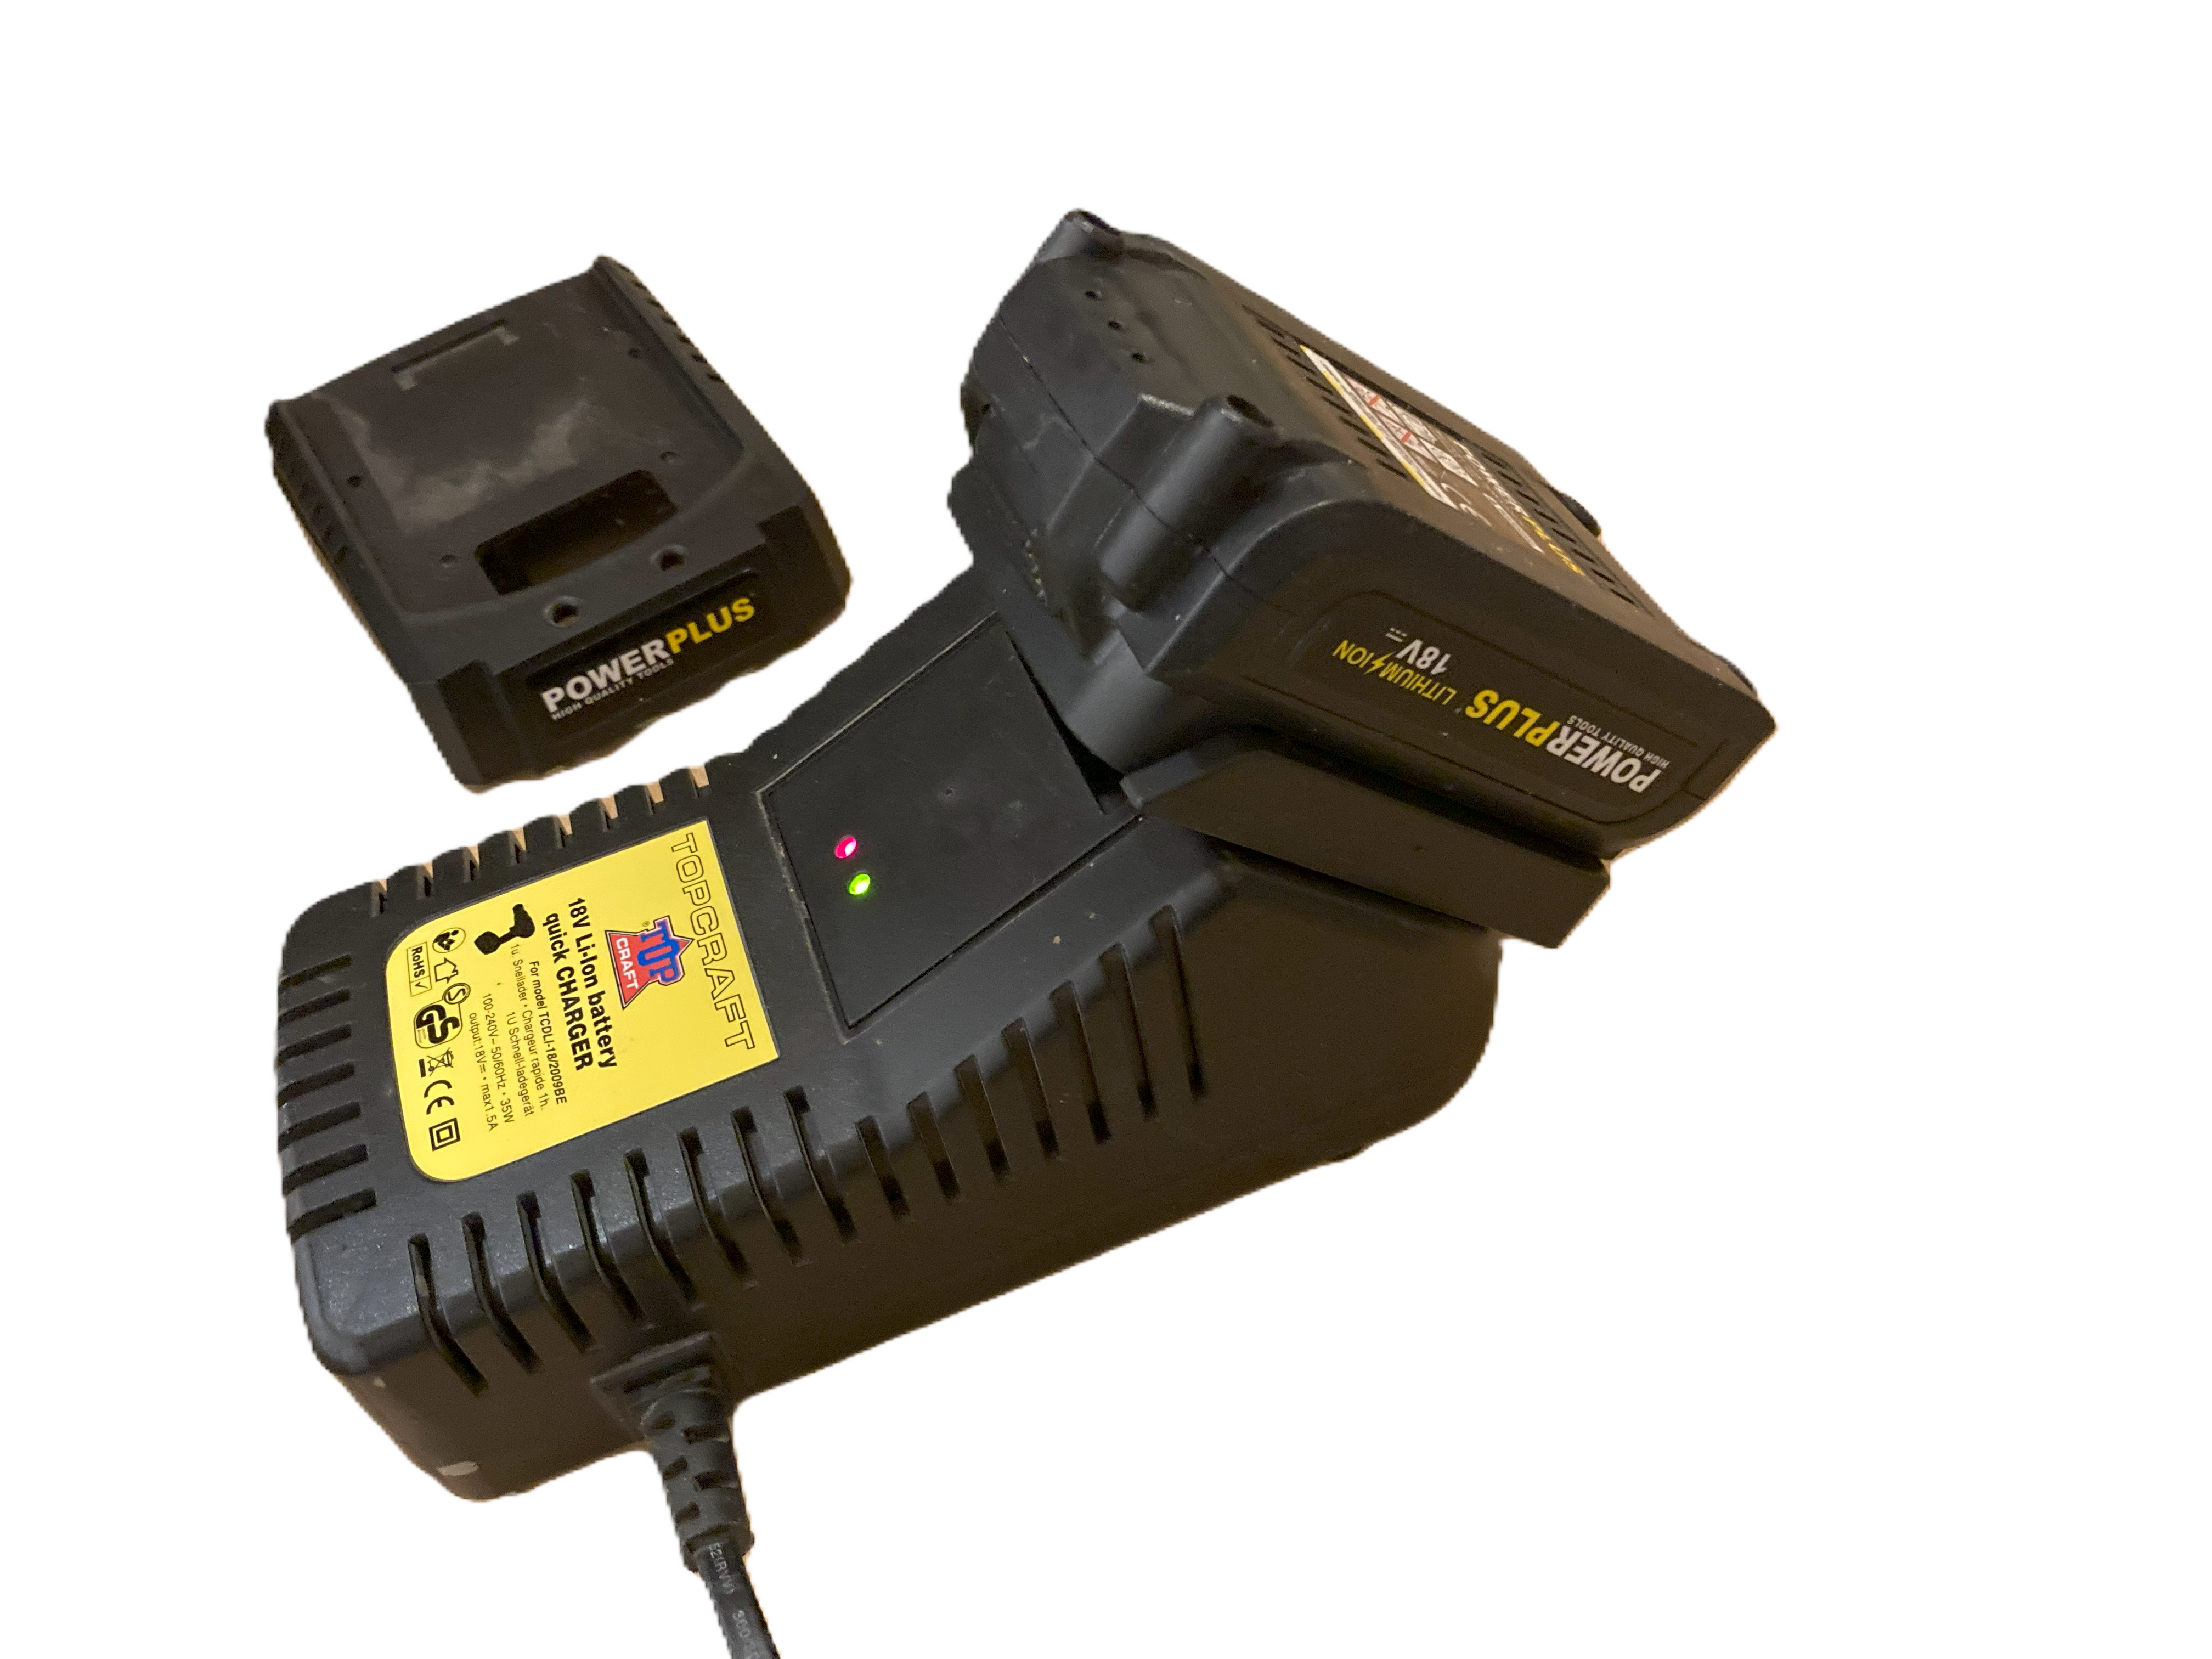
Even though the old charger operated at a lower voltage, my batteries charged fully.
A Word of Caution
While this DIY fix worked for me, it’s important to monitor the charging process closely and take all necessary safety precautions. Modifying chargers can be risky, so do not leave them unattended while charging